A Stocking to Stuff
Boredom has set in - I'm not good with being confined to a bed, to a couch or even to home, so I'm very grateful that my fall down the stairs didn't result in any serious injury. My leg is feeling better every day, and I even ventured out today to do a couple of errands. I don't want to push too hard however, so I have been resting up ... a little :)
When first married, I was a cross-stitch fan. I made two stockings with cross-stitched names on them that we hung up every Christmas. When my daughter was born, we had the pink new baby girl stocking that we used up until she wanted something less babyish. I let her pick out the fabric and trim and made another simple stocking. Well, this Christmas we have a new family member, my son-in-law, and of course, he needs a stocking too. With my inability to leave the house for the last few days, it threw a monkey-wrench into my Christmas crafting plans and I needed something quick. So here is the result.
I bought quilted double-sided Christmas fabric and some trim and within a half and hour, had our fourth family stocking. In the picture below, you see the original stocking and the trim on top of the fabric I just purchased.
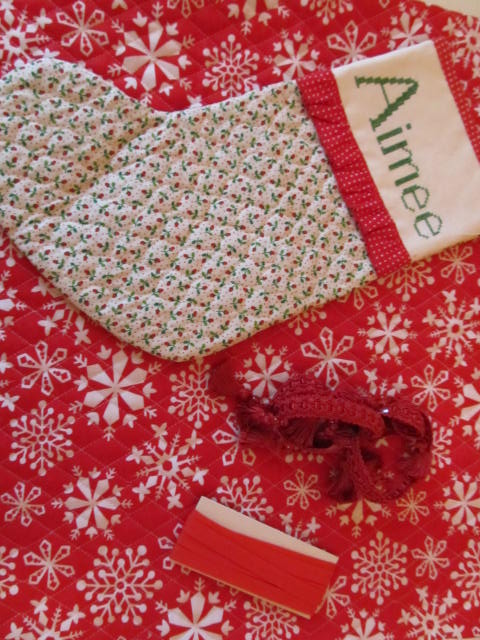
I traced around the original stocking (snowflake material folded in half) and cut it out. I wanted some contrast, so I cut a little extra piece to go at the top of each side. I cut a piece of trim as well for each side.

I sewed the contrasting piece to the top (right side) and sewed the trim on top of that. I did this to both pieces.


Comments
Post a Comment
Please feel free to comment - I would love to hear from you!